Enhance customer connections with ready-to-use digital marketing
Learn from your customers’ behavior and offer them unique, frictionless experience. With Xperience by Kentico, you have and integrated digital marketing CMS with full-featured capabilities in one platform, so you can easily create omnichannel digital experiences your customers will love.
Reach a wider audience
With several channels on hand and SEO in mind, you will maximize your outreach. Whenever someone shows interest in what you do, you're there and ready to help them out.
Customize user experience
Get to know your users better from their behavior and tailor your interaction to their needs. From relevant content on your website and blog posts to personalized offers in their mailbox and social media, your customers should know you care.
Build customer loyalty
Collect users’ contacts with CTAs and forms, recommend relevant content in emails and provide exclusive resources in a password-protected area. This approach strengthens trust and fosters customer loyalty.

Xperience by Kentico has content personalization, email marketing, activity tracking and more, and you get it all for one transparent, easy to understand cost.
Do all your marketing magic from one place
Xperience by Kentico is the perfect solution that boosts your marketing team's efficiency. Seamlessly integrating digital marketing with our content management system, Kentico enables your team members to create campaigns across channels using a single, user-friendly solution. Get SEO features, AI assistance, personalization, email, forms and other features ready-to-use for maximum effect.
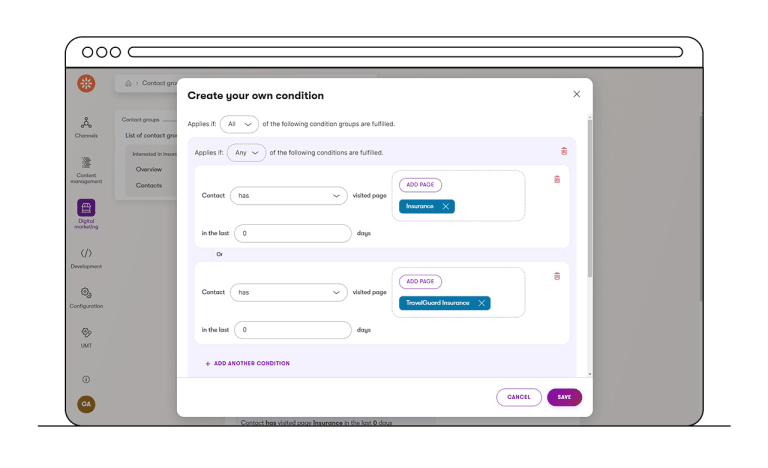
Get to know your visitors
Check how people use your website with built-in activity tracking. Collect your visitors’ data and get actionable insights into their behavior. Find potential buyers and see what your best performing content is. Segment your contacts and target them better with well-fitted communication that increases conversions. Leave assumptions aside and refine your marketing strategies based on your own data.
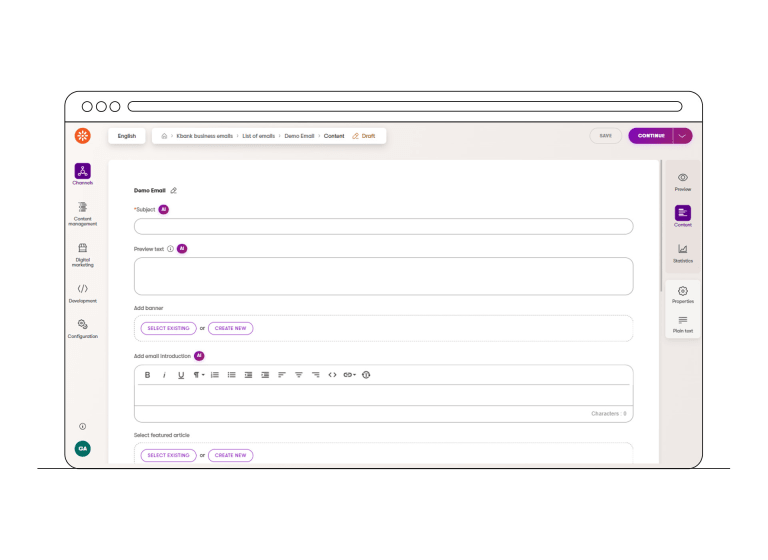
Be efficient with AI assistance
AI is an integral part of Xperience by Kentico, woven into the product as an intelligence layer that will touch every functionality. Kentico introduces AIRA, its AI capability, which can assist with drafting emails, suggesting focal points for images, generating metadata, and automatically tagging images. Soon, Kentico users will also be able to use AI for analytics, customer profile updates, and other tasks that save marketers time and enhance omnichannel communication.

Create personalized digital experiences
Craft exceptional customer experiences with Xperience by Kentico personalization. Is this their first visit or are they ready to order? Are they looking for a local pickup point? Use our digital marketing CMS to customize texts, banners, landing pages, forms, and more to match your audience's preferences and timing. Enjoy better results like lower bounce rates and higher engagement. Plus, it's all in one user-friendly interface.
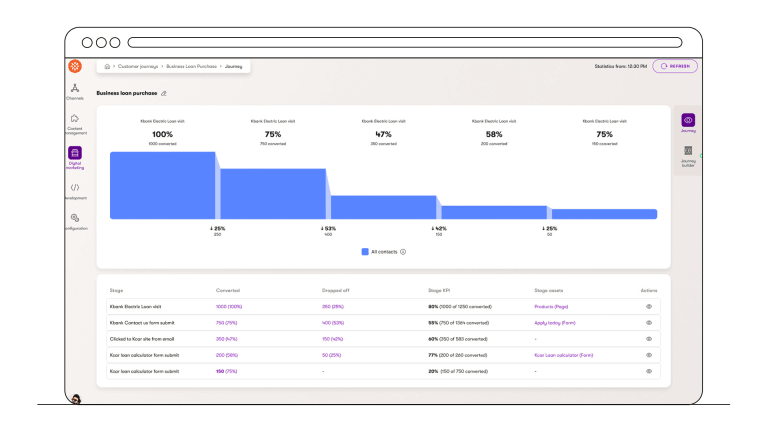
Map out customer journeys
Customer Journey Mapping gives you the clarity you need to improve conversions across your marketing funnel. Map out key touchpoints—from form submissions to email clicks—and identify where engagement drops off. With insights backed by real customer data, AI, and flexible condition rules, you can fine-tune every customer interaction to strengthen results.
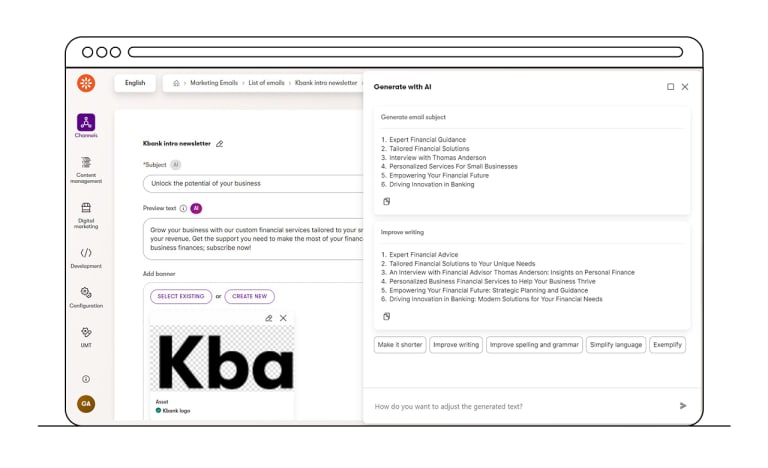
Email marketing with AI assistant
Design email campaigns using our email marketing app. Repurpose your content and craft AI-driven emails, dispatch newsletters, autoresponders, and personalized messages for maximum impact. Track your success with user-friendly statistics and acquire valuable insights into your campaign performance. Use the power of email to effectively connect with your audience.
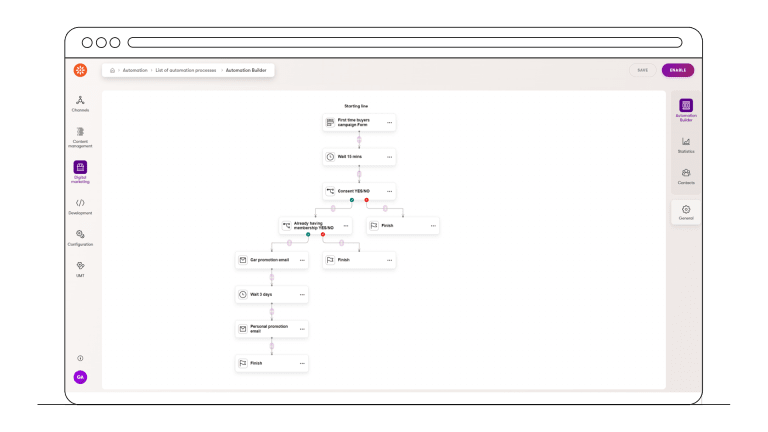
Engage your audience with native marketing automation
Kentico’s marketing automation keeps your audience engaged through personalized lead nurturing. Seamlessly reuse content from the central repository and set automation triggers directly from web forms. Define marketing automation conditions based on visitor activities to boost your content ROI and MQLs—all within an easy-to-use platform.

Build forms without coding
Easily gather your visitors' info with our forms. Use our simple drag-and-drop builder to create forms and add smart fields that adapt based on conditions to encourage users to share more. Stay on the safe side with our consent management for data protection. No coding skills needed!

Improve user experience with robust search
Help visitors find what they need as quickly as possible. Xperience by Kentico offers native faceted site search, so users can refine search results with filters and search quickly even through a large volume of content. More demanding customers can use our quick plug-and-play integration with AI-powered Algolia search or Microsoft Azure AI Search.
Extend your DXP with powerful integrations
With Xperience by Kentico, you get all essential content management and digital marketing needs covered from day one. But if you have a favorite piece of software that you can’t live without, there’s nothing easier than integrating it with our platform. Simply use our plug-and-play integrations and get to market as fast as possible.
Try Kentico
Beat the competition and start delivering results with the only digital experience platform that combines advanced capabilities, a short time to value, and ease of use.


